All in the Family Sharing
Prior to iOS 8, if you wanted to share apps and media from Apple’s digital stores, you either had to figure out the awkward Home Sharing feature in iTunes or all sign in to Apple’s stores with the same Apple ID. Neither option was especially satisfactory. In iOS 8, Apple has introduced Family Sharing, which lets up to six people with separate Apple IDs share apps and media, as well as photos, a calendar, and locations ①.
① Family Sharing lets up to six people share purchases, photos, calendars, and locations.
The Family Organizer
The family organizer sets up and manages Family Sharing and is responsible for all charges incurred. The organizer can specify who is a parent or guardian, and who is a child.
The organizer can also require that all purchases made by a family member under age18 must be approved (the specific age may vary by your location).
Setting up Family Sharing
- Go to Settings > iCloud.
- Tap Set Up Family Sharing.
- Tap Get Started ②.
② Tap Get Started to, well, get started with setting up your family group.
- On the Family Setup screen, after reading your responsibilities as family organizer, make certain that the Apple ID you want to use for Family Sharing is the one shown on this screen. If it’s not, tap “Not you or want to use a different ID?” at the bottom of the screen. Otherwise, tap Continue.
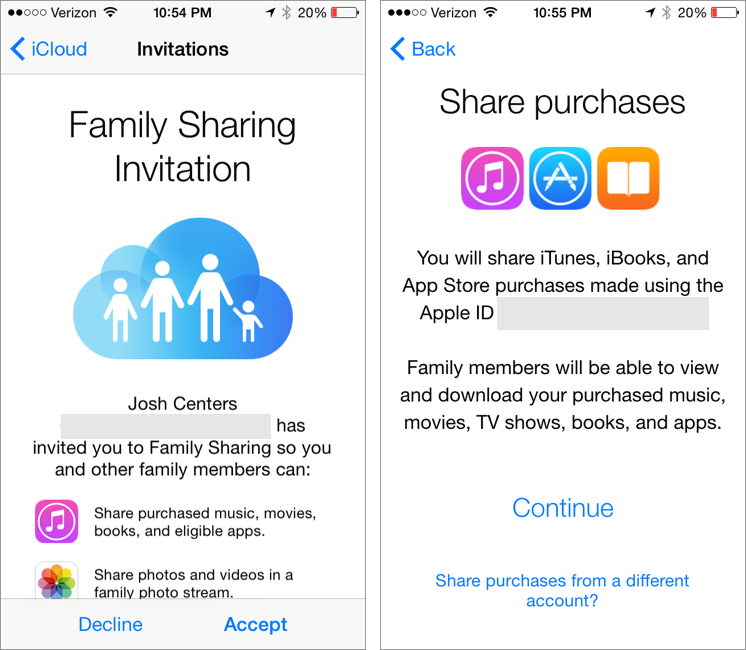
- Read the Share Purchases information and tap Continue.
- Confirm your payment method and tap Continue.
- Tap either Share Your Location or Not Now.
With Family Sharing setup complete, you can manage the group in Settings > iCloud > Family.
Adding a Family Member
- Visit Settings > iCloud > Family.
- If you need to create a new account for a child, do so from within this screen; read Creating an Apple ID for a Child, ahead.
- Tap Add Family Member. Enter that person’s email address to send an invitation (be sure that the person is signed in to iCloud on an iOS 8 or Yosemite device). Alternatively, enter that family member’s Apple ID and password and skip Step 4.
- When your family member receives a notification (in iOS 8 or Yosemite), she must open the notification and follow the prompts to be added to your group.
Controlling Sharing
- Disable Location Sharing: Any member can stop sharing his location by going to Settings > iCloud, scrolling way down to tap Share My Location, and then disabling the Share My Location switch.
- Disable purchase sharing: Anyone in the group can stop sharing her apps and iTunes media by going to Settings > iCloud > Family > Your Name, and turning off Share My Purchases.
- Appoint a parent or guardian: The organizer can specify any group member age 18 or over as a parent or guardian who can approve purchase requests. Go to Settings > iCloud > Family, tap that person’s name, and enable Parent/Guardian.
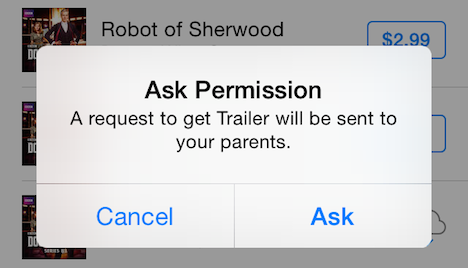
- Enable Ask to Buy: If a group member is under age18, the family organizer, parent, or guardian can restrict purchases for that person (even free ones) by tapping Settings > iCloud > Family, tapping that person’s name, and enabling Ask to Buy.
Using Family Sharing
- Accessing shared media and apps: Go to the Purchased view in the App Store, iTunes Store, or iBooks Store, and select the family member’s name under the Family Purchases heading.
- Making purchases: Purchases work just as they did before Family Sharing (unless Ask to Buy is enabled, see How Ask to Buy Works, above) except that the organizer absorbs all charges.
- Viewing and managing the calendar: The shared Family calendar is automatically added to the Calendars app. To hide or show it, open Calendars, tap Calendars, and either check or uncheck it.
When creating a new event, add it to the Family calendar by tapping Calendar and selecting Family ⑤. Or, to move an existing event to the Family calendar, open the event, tap Calendar and select the Family calendar.
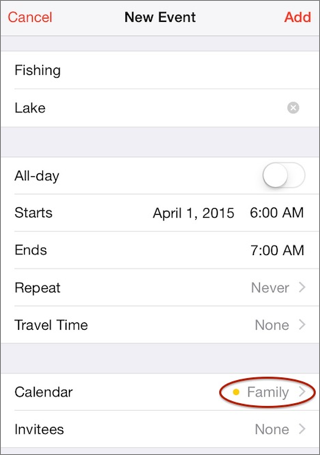
⑤ You can select the shared Family calendar when creating an event.
- Reminding family: In Reminders, you can add and view reminders for all family members. To switch to the Family card, tap the name of the current card, then tap the Family card in the stack. The Family card cannot be deleted.
- Viewing and adding to family photos: To view the group’s shared photos, open the Photos app, switch to the Albums view and select the Family album.
To add photos, tap the plus + button while viewing the album, select the photos to share, and tap Done. This album cannot be deleted.
Removing a Family Member
You can remove a family member age 13 or older at any time:
- Go to Settings > iCloud > Family.
- Select the family member you wish to remove.
- Tap Remove.
- At the prompt, tap Remove again.
The removed person immediately looses access to shared purchases (though they will remain on any devices until deleted), the Family Photo Stream, Family calendar, and everything else Family Sharing entails.
The removed family member receives a notification of the removal.
Copyright © 2014, Josh Centers. All rights reserved.