Guarding Your Privacy in iOS 8
iOS beats just about any modern operating system when it comes to protecting your privacy. But as with any computing device, you must do a bit of tweaking to maximize your privacy, like setting a passcode ①.
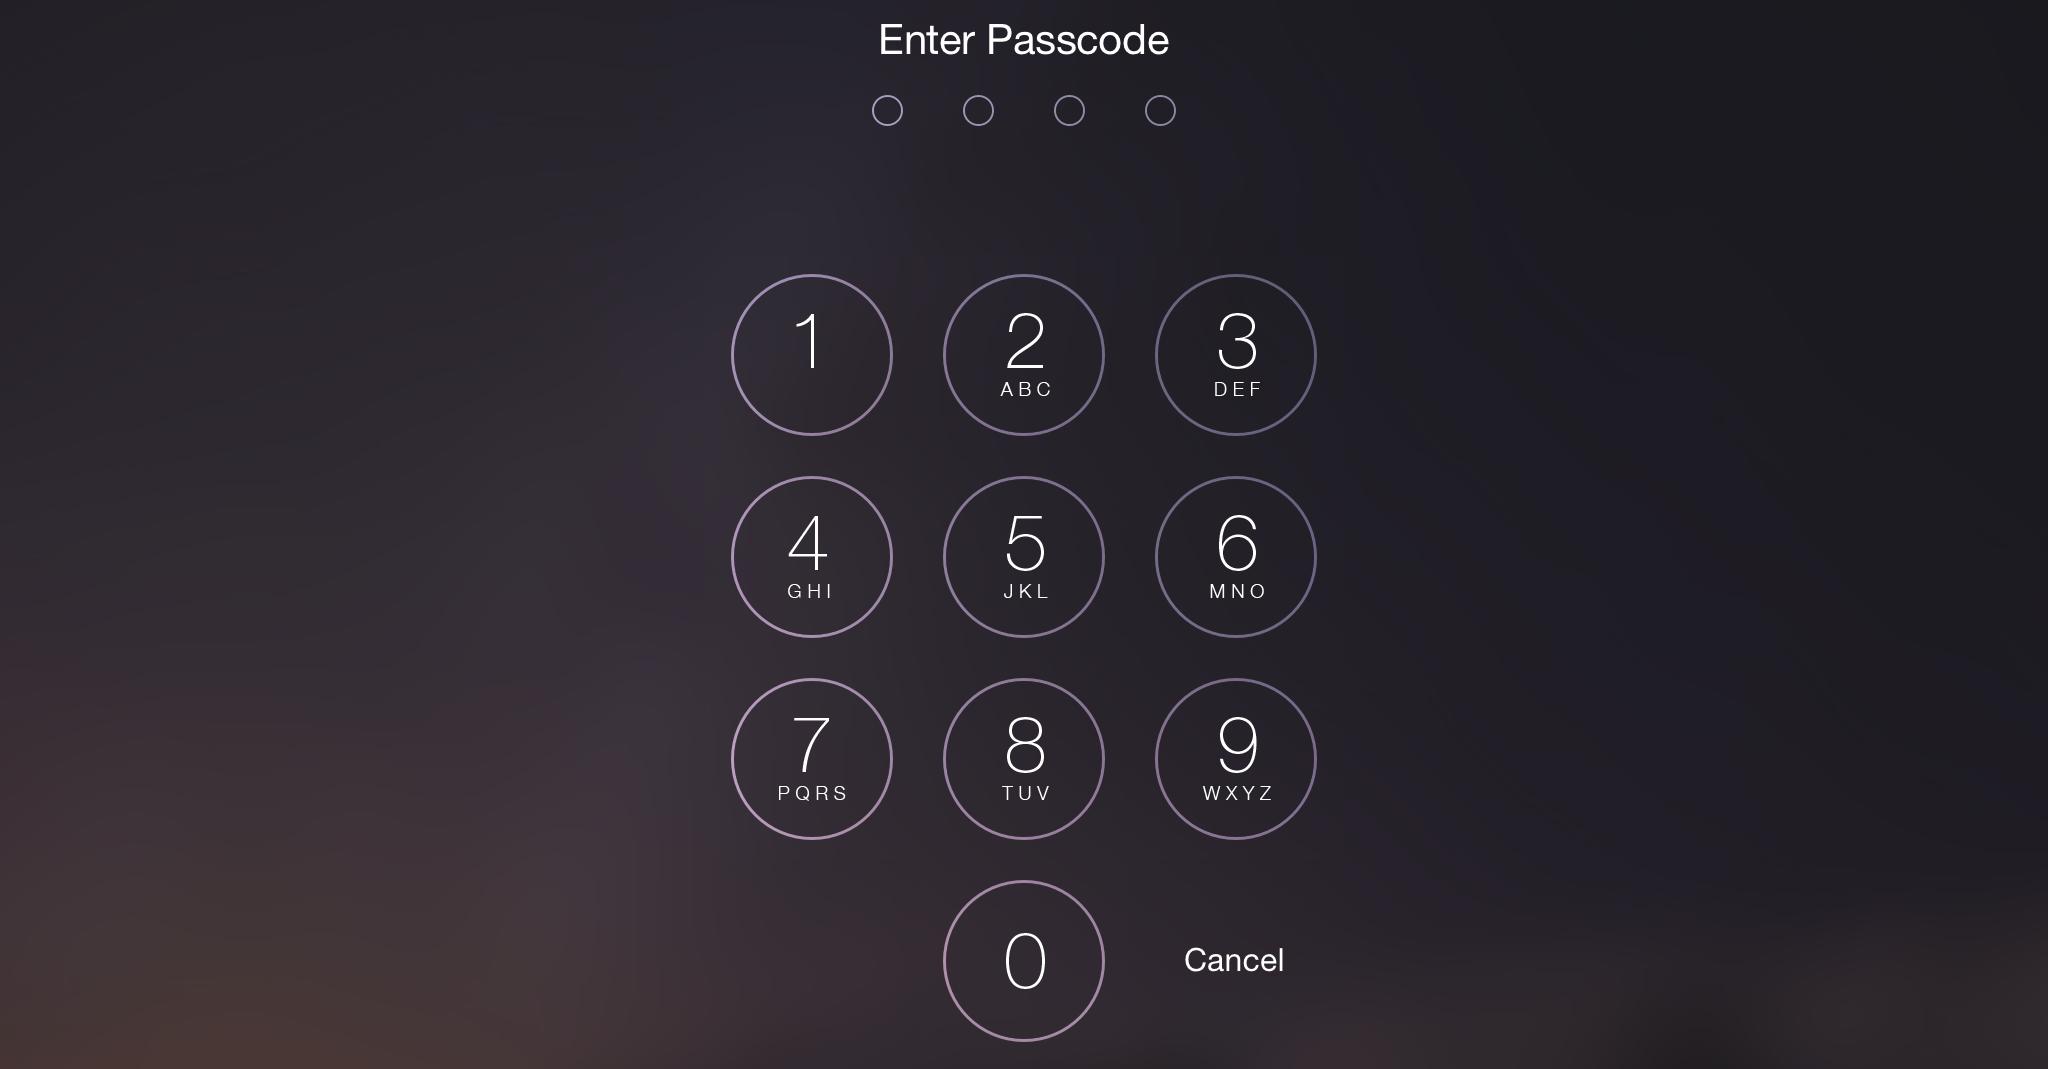
① Privacy starts at home. If you don’t protect your device with a passcode or fingerprint, then anyone who has physical access can see your personal information.
Setting a Passcode
Everyone should have a passcode enabled on their devices. The passcode protects your photos, messages, browser history, and more from nosy eyes. Here’s how to configure it:
- Go to Settings > Passcode (on Touch ID-enabled devices, this is Settings > Touch ID & Passcode).
- Tap Turn Passcode On.
- Enter a four-digit passcode ②.
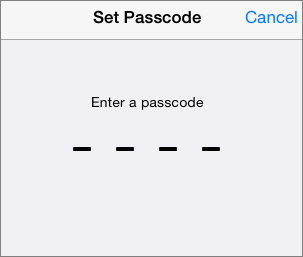
② A four-digit passcode can protect your device from casual snooping.
- Enter the passcode again.
- In the passcode view, specify how long your device has to be unused before requiring a passcode to unlock it. There are a number of options, ranging from immediately to 4 hours.
- Consider enabling the Erase Data option, which automatically erases everything on your device after ten failed passcode attempts. If you recover an erased device, you can restore it from a backup, though that might be difficult or impossible while traveling.
Setting up Touch ID
Touch ID, available on newer iPhones and iPads, lets you scan your fingerprint on the Home button instead of typing a passcode. In some cases, it also replaces your having to input a password, such the one that goes with your Apple ID.
If you have a Touch ID–equipped device, you were prompted to set up Touch ID when you set up the device. But in case you skipped that step, or want to edit your settings, here’s how:
- Go to Settings > Touch ID & Passcode (if you see only Settings > Passcode, either you do not have a Touch ID device or something is wrong with your hardware).
- Enter your passcode, if prompted.
- Tap Add a Fingerprint.
- When prompted, place your finger on the Home button (without pressing it) several times until scanning is complete.
- You are prompted to scan the edges of your finger. Follow the onscreen instructions.
- Repeat for each finger you might want to use to unlock your device. You can scan up to five digits. I recommend both thumbs, your index fingers, and maybe a spouse’s finger.
After setup, I recommend naming each finger by tapping its listing in Settings > Touch ID & Passcode and entering a name into the text field ④.
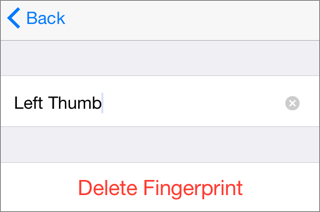
④ To name or delete a fingerprint, tap its entry in Settings > Touch ID & Passcode.
Deleting a Fingerprint
Open Settings > Touch ID & Passcode, slide the fingerprint’s entry to the left, and tap Delete. Or, tap the entry and tap Delete Fingerprint.
Understanding Privacy Settings
Settings > Privacy offers many options for securing your privacy. Let’s look at the high points:
- Disable ad tracking: If you do nothing else, you should tap Advertising (way at the bottom) and make certain that Limit Ad Tracking is on. If this switch is off, advertisers track information about you (anonymously) and use it to serve personalized ads within certain apps. But you gain no benefit from letting advertisers track you, unless these ads match things you genuinely want to see ads for—they probably won’t, if you notice them at all.
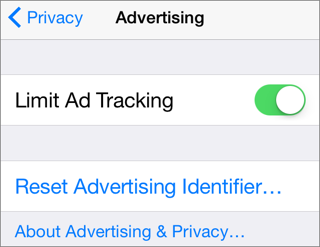
⑤ Turning on Limit Ad Tracking in Settings > Privacy > Advertising is an easy way to protect your privacy.
- Diagnostics & Usage: Choose whether or not to send anonymous diagnostic data to Apple. To preserve privacy and battery life, I leave this off.
- Microphone: Tap to toggle the switches for which apps may access your microphone. It’s a good idea to check this setting every now and again to make sure nothing is listening in without your knowledge.
- Enable or disable location tracking: Tap Location Services to specify which apps can see your geographic location ⑥.
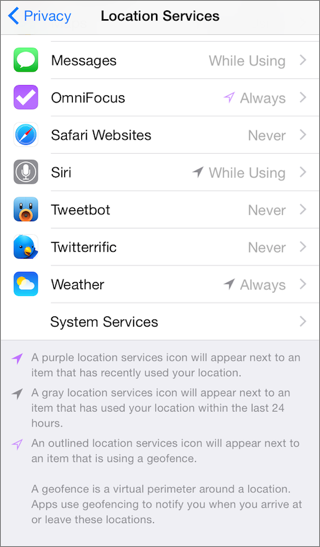
⑥ In Settings > Privacy > Location Services, the arrows and labels tell you when each app last accessed Location Services.
You can turn Location Services completely off, which I don’t recommend—you won’t be able to use the Maps app, for example—or you can disable location services on a per app basis. It’s a good idea to disable access for apps that don’t need it. For instance, Google Maps definitely needs to know my location, but Secret, which is supposed to be an anonymous social network, certainly does not.
- Per app: The Settings > Privacy screen has several options to limit access to app data from other apps. For example, tap Photos to see a list of apps that have access to your photo library.
Copyright © 2014, Josh Centers. All rights reserved.


